Viewing entries in
breads

UNholy. . . NY Style Bagels

Comment

UNholy. . . NY Style Bagels

Have you ever seen a character in a movie walking in Manhattan and they undoubtedly pass a Bagel Shop! I’ve figured out how to make these bagels at home with not a lot of work and a great deal of taste! Here’s how!


Ingredients:

WET:

1 ½ C warm water

2 ¼ t Fast acting/rapid-rise yeast (1 standard package)

1 t granulated sugar


DRY Mixture:

4 C Bread/High Protein Flour

¼ C non-diastatic malt powder

2 t table salt

2 T Honey (or 2 T granulated sugar)


Steaming liquid:

6-8 C water (the height of your grate may determine this . . . )

2 T non-diastatic malt powder

1 T sugar


Toppings:

1 Large egg white

1 T warm water

Any/none of the following:

Kosher Salt, sesame seeds, cinnamon sugar blend, steak seasoning (you laugh, but they are good!), dried onions (Only sprinkle on after “10 and turn” or they may burn.)


Other stuff:

Stand mixer fitted with the dough hook attachment

Large bowl for proofing

Cling film

Silpat-parchment paper

Non-greased baking sheet

Bench/dough scraper

Large High-sided skillet or Dutch oven

Grate for steaming (if poaching, slotted spoon)

Non-stick cooking spray

Spatula

Kitchen towel, damp

Basting brush


Instructions:

Before starting the mixing process, preheat oven to about 100 Deg F. In a measuring cup filled with warm water, add the yeast and sugar, whisk together and set aside for about 3 minutes while you get your dry ingredients together. In the bowl of your stand mixer, add Flour, non-diastatic powder, and salt; give a quick whisk and then add honey (or sugar, you can whisk after adding this J). Fit your bowl on the mixer and with hook attachment just turn on for about 30 sec. to combine then pour your wet mixture in and put the speed to 2 and let it work for 8 minutes for you!

Meanwhile, turn your oven off and spray your proofing bowl with non-stick spray. Once your dough is nice and elastic, form into a ball and place in the proofing bowl and turn over to coat with oil. Cover with plastic wrap. Stick in your oven to let proof for 90 minutes.

After 90 minutes, dampen a cloth with warm tap water and line a baking sheet with parchment paper/silpat baking mat. “Poof” Punch down the dough, roll out onto a non-floured surface into a log and start to divide. If you want to “eye-ball” it, that’s totally fine, but I measured mine to between 4 ¼ -4 ½  oz. balls.

Dough Balls

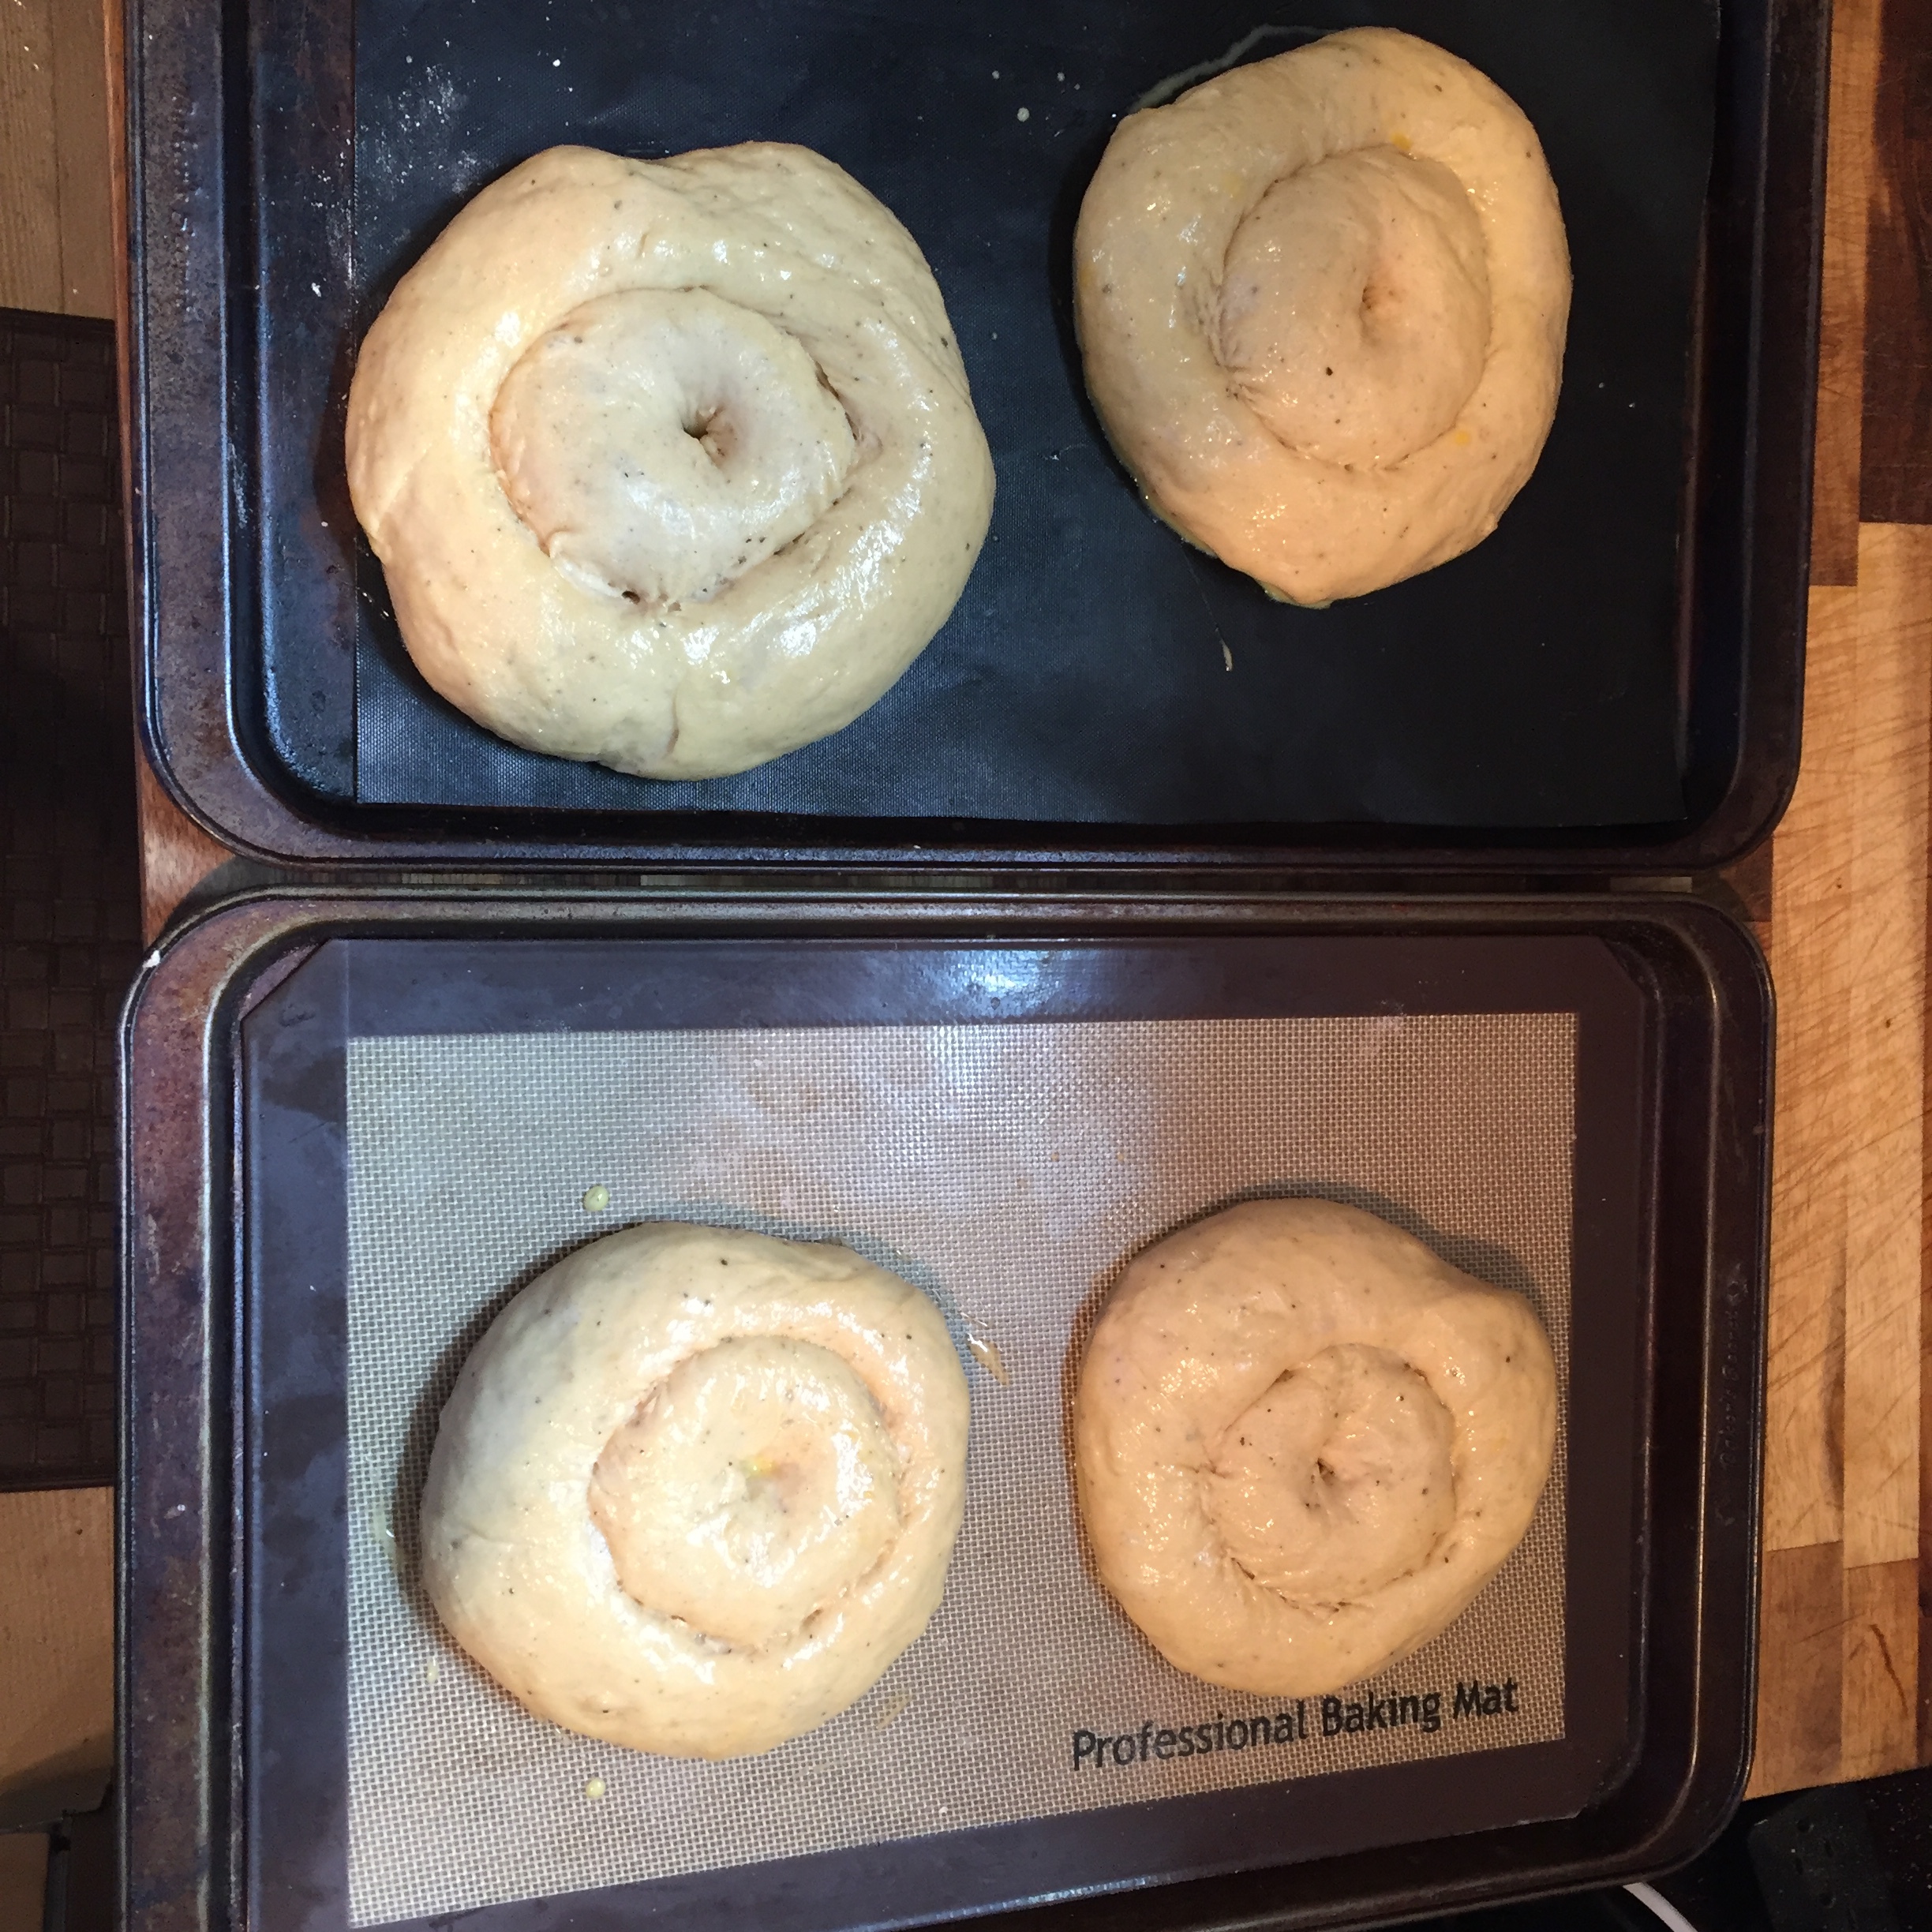
Once dough is measured out, take the ball and “pinch” it with the smooth side on the bottom, invert and place ball between the heel and palm of your hand. In a circular motion roll to create a ball that has virtually no seam. Place on your silpat/parchment lined baking sheet. Cover with damp cloth while you’re working through the dough. After all dough is done, start with the first one (there’s method to the madness as the dough needs to rest slightly after the “balling” process.) of the balls and flatten slightly. Poke your finger directly in the middle and gentle break through the elasticity. With your two index fingers side by side, slowly begin to make a circle and stretch the dough. You will need to go farther than you think, but you can feel when it’s giving all that it’s got. . . Place that wring back on the silpat, repeat with the other balls and cover with damp towel. Let sit for about 20 minutes. . .

IMG_5941.JPG

Meanwhile, Pre-heat oven to 425 DegF, positioning one rack in the upper 1/3 of the oven and ready your steaming liquid by combining all ingredients and bring to a boil. Separate egg and add 1 T of water to the white and beat until smooth.  Gather your toppings of choice.

 Once 20 minutes have passed, you can begin the steaming process: liberally spray your grate and spatula with oil and place 3 or 4 of your bagel rings on the oiled grate. Cover and steam for 2 minutes. Re-apply oil to the spatula. After 2 minutes, remove the dough from the grate back to the baking sheet. Go ahead and Re-apply oil to your grate and spatula and place your un-steamed rings onto the grate. Cover for 2 minutes.

While your second batch is steaming (I did this a LITTLE out of order over my excitement in the demonstration. . . ) Lather the egg wash onto each steamed bagel. Then with a topping of your choice, sprinkle the tops. I always like a variety, so some remain plain, BUT for that wonderful golden finish, be sure to lather with the egg wash.

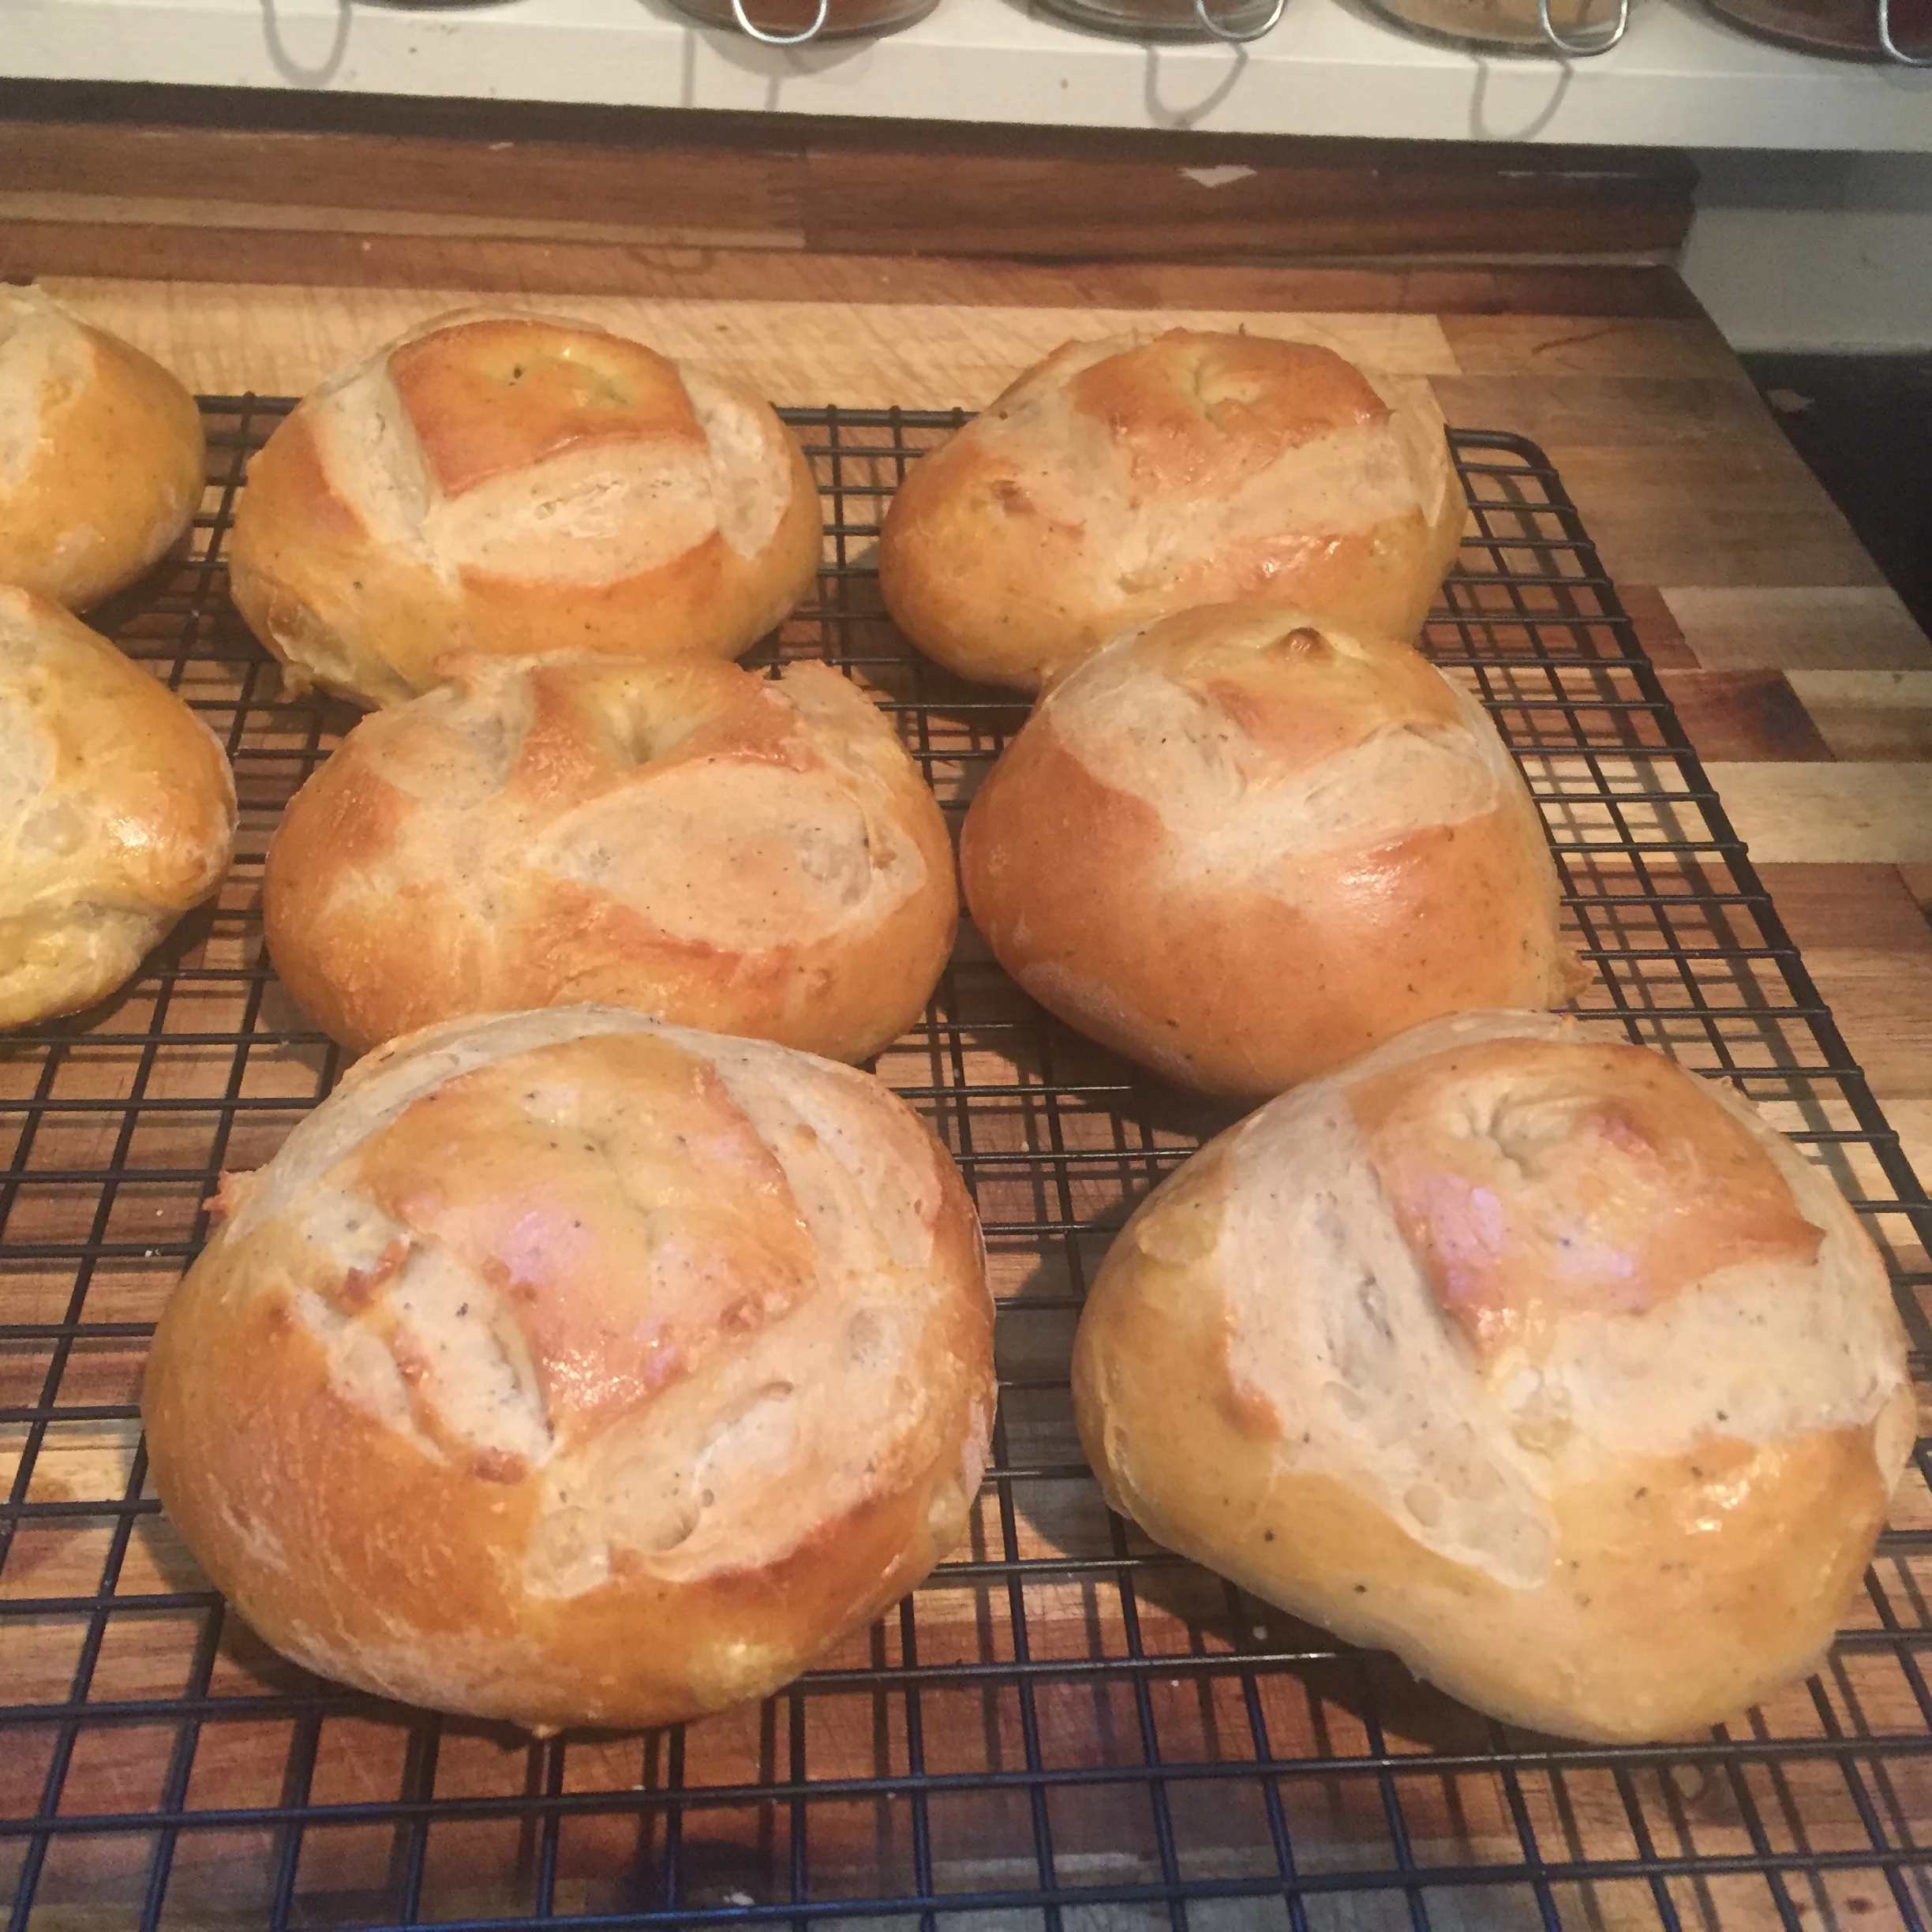
After all bagels have steamed and been topped, place the baking sheet in the oven for c. 20 minutes, rotating the pan ½ way through. “Ten and turn”. . . After 20 minutes, check for doneness. If they need to be a little richer color for your eye, put in for 2 more minutes. (mine have taken 20-24 minutes in the past). Once doneness is achieved for your taste, turn oven off for 5 minutes door closed. Then crack the door for 5 minutes. This will allow the bagels to cool slightly before removing from heat completely.

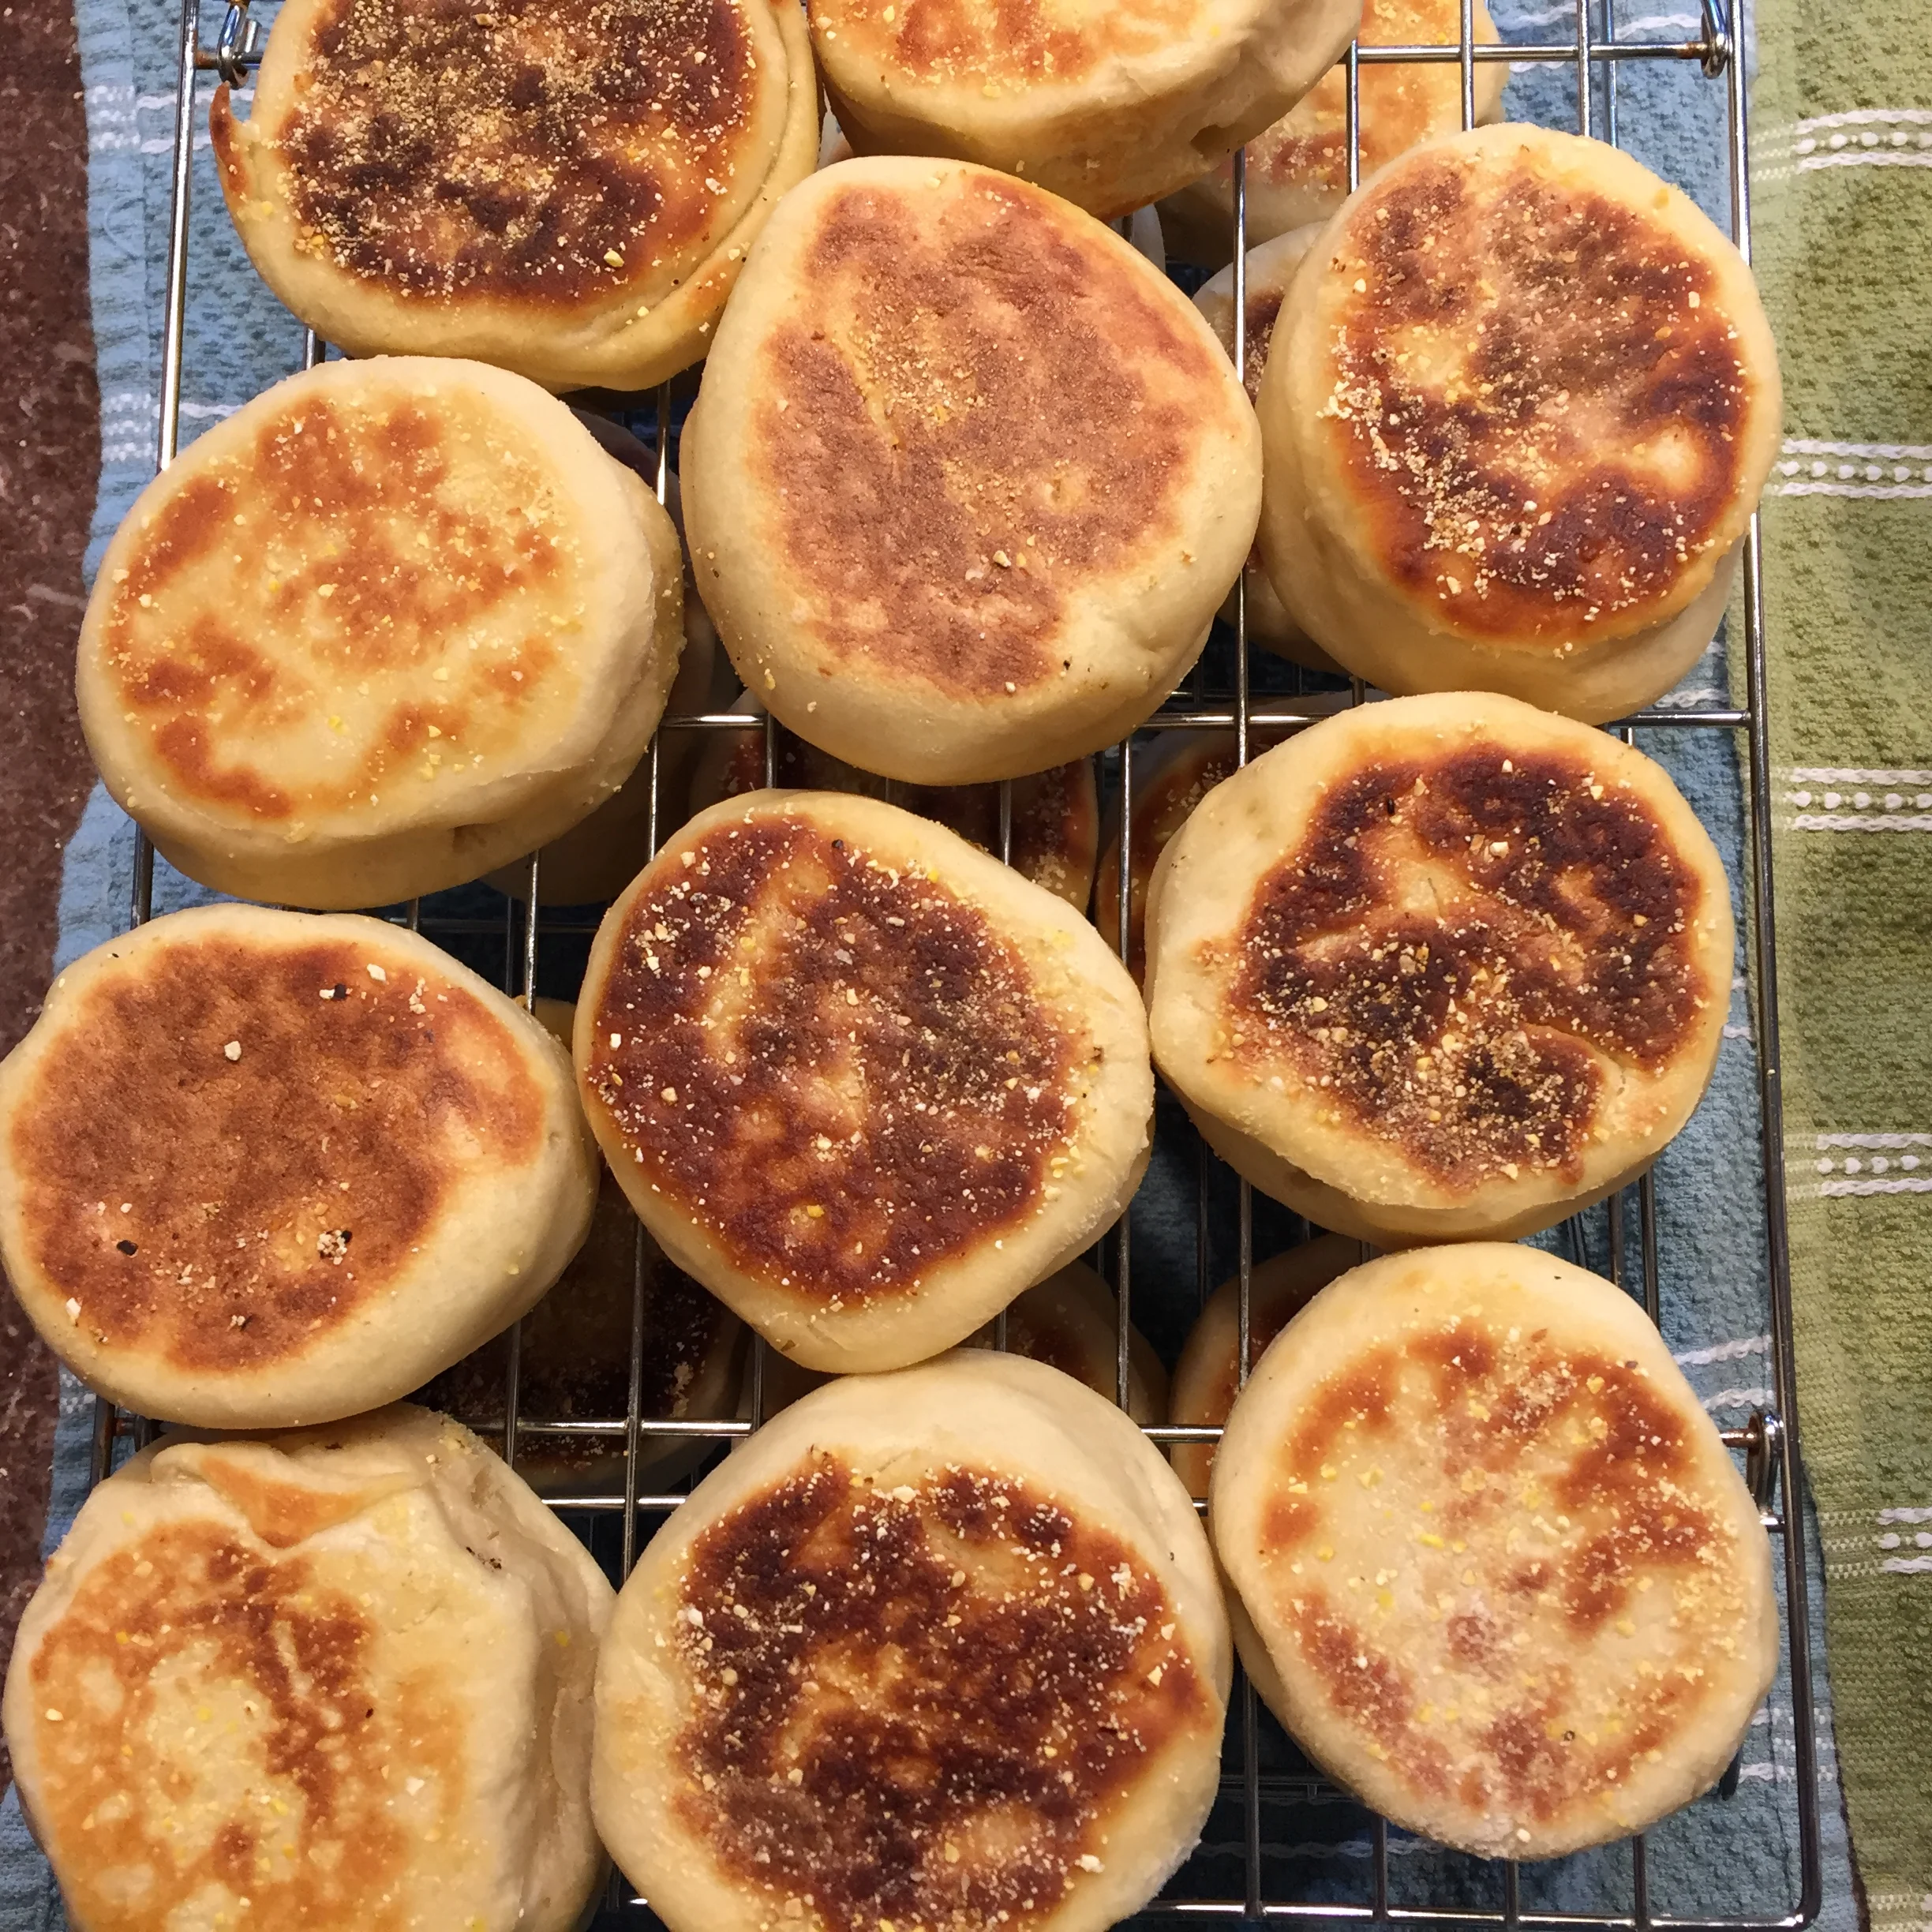
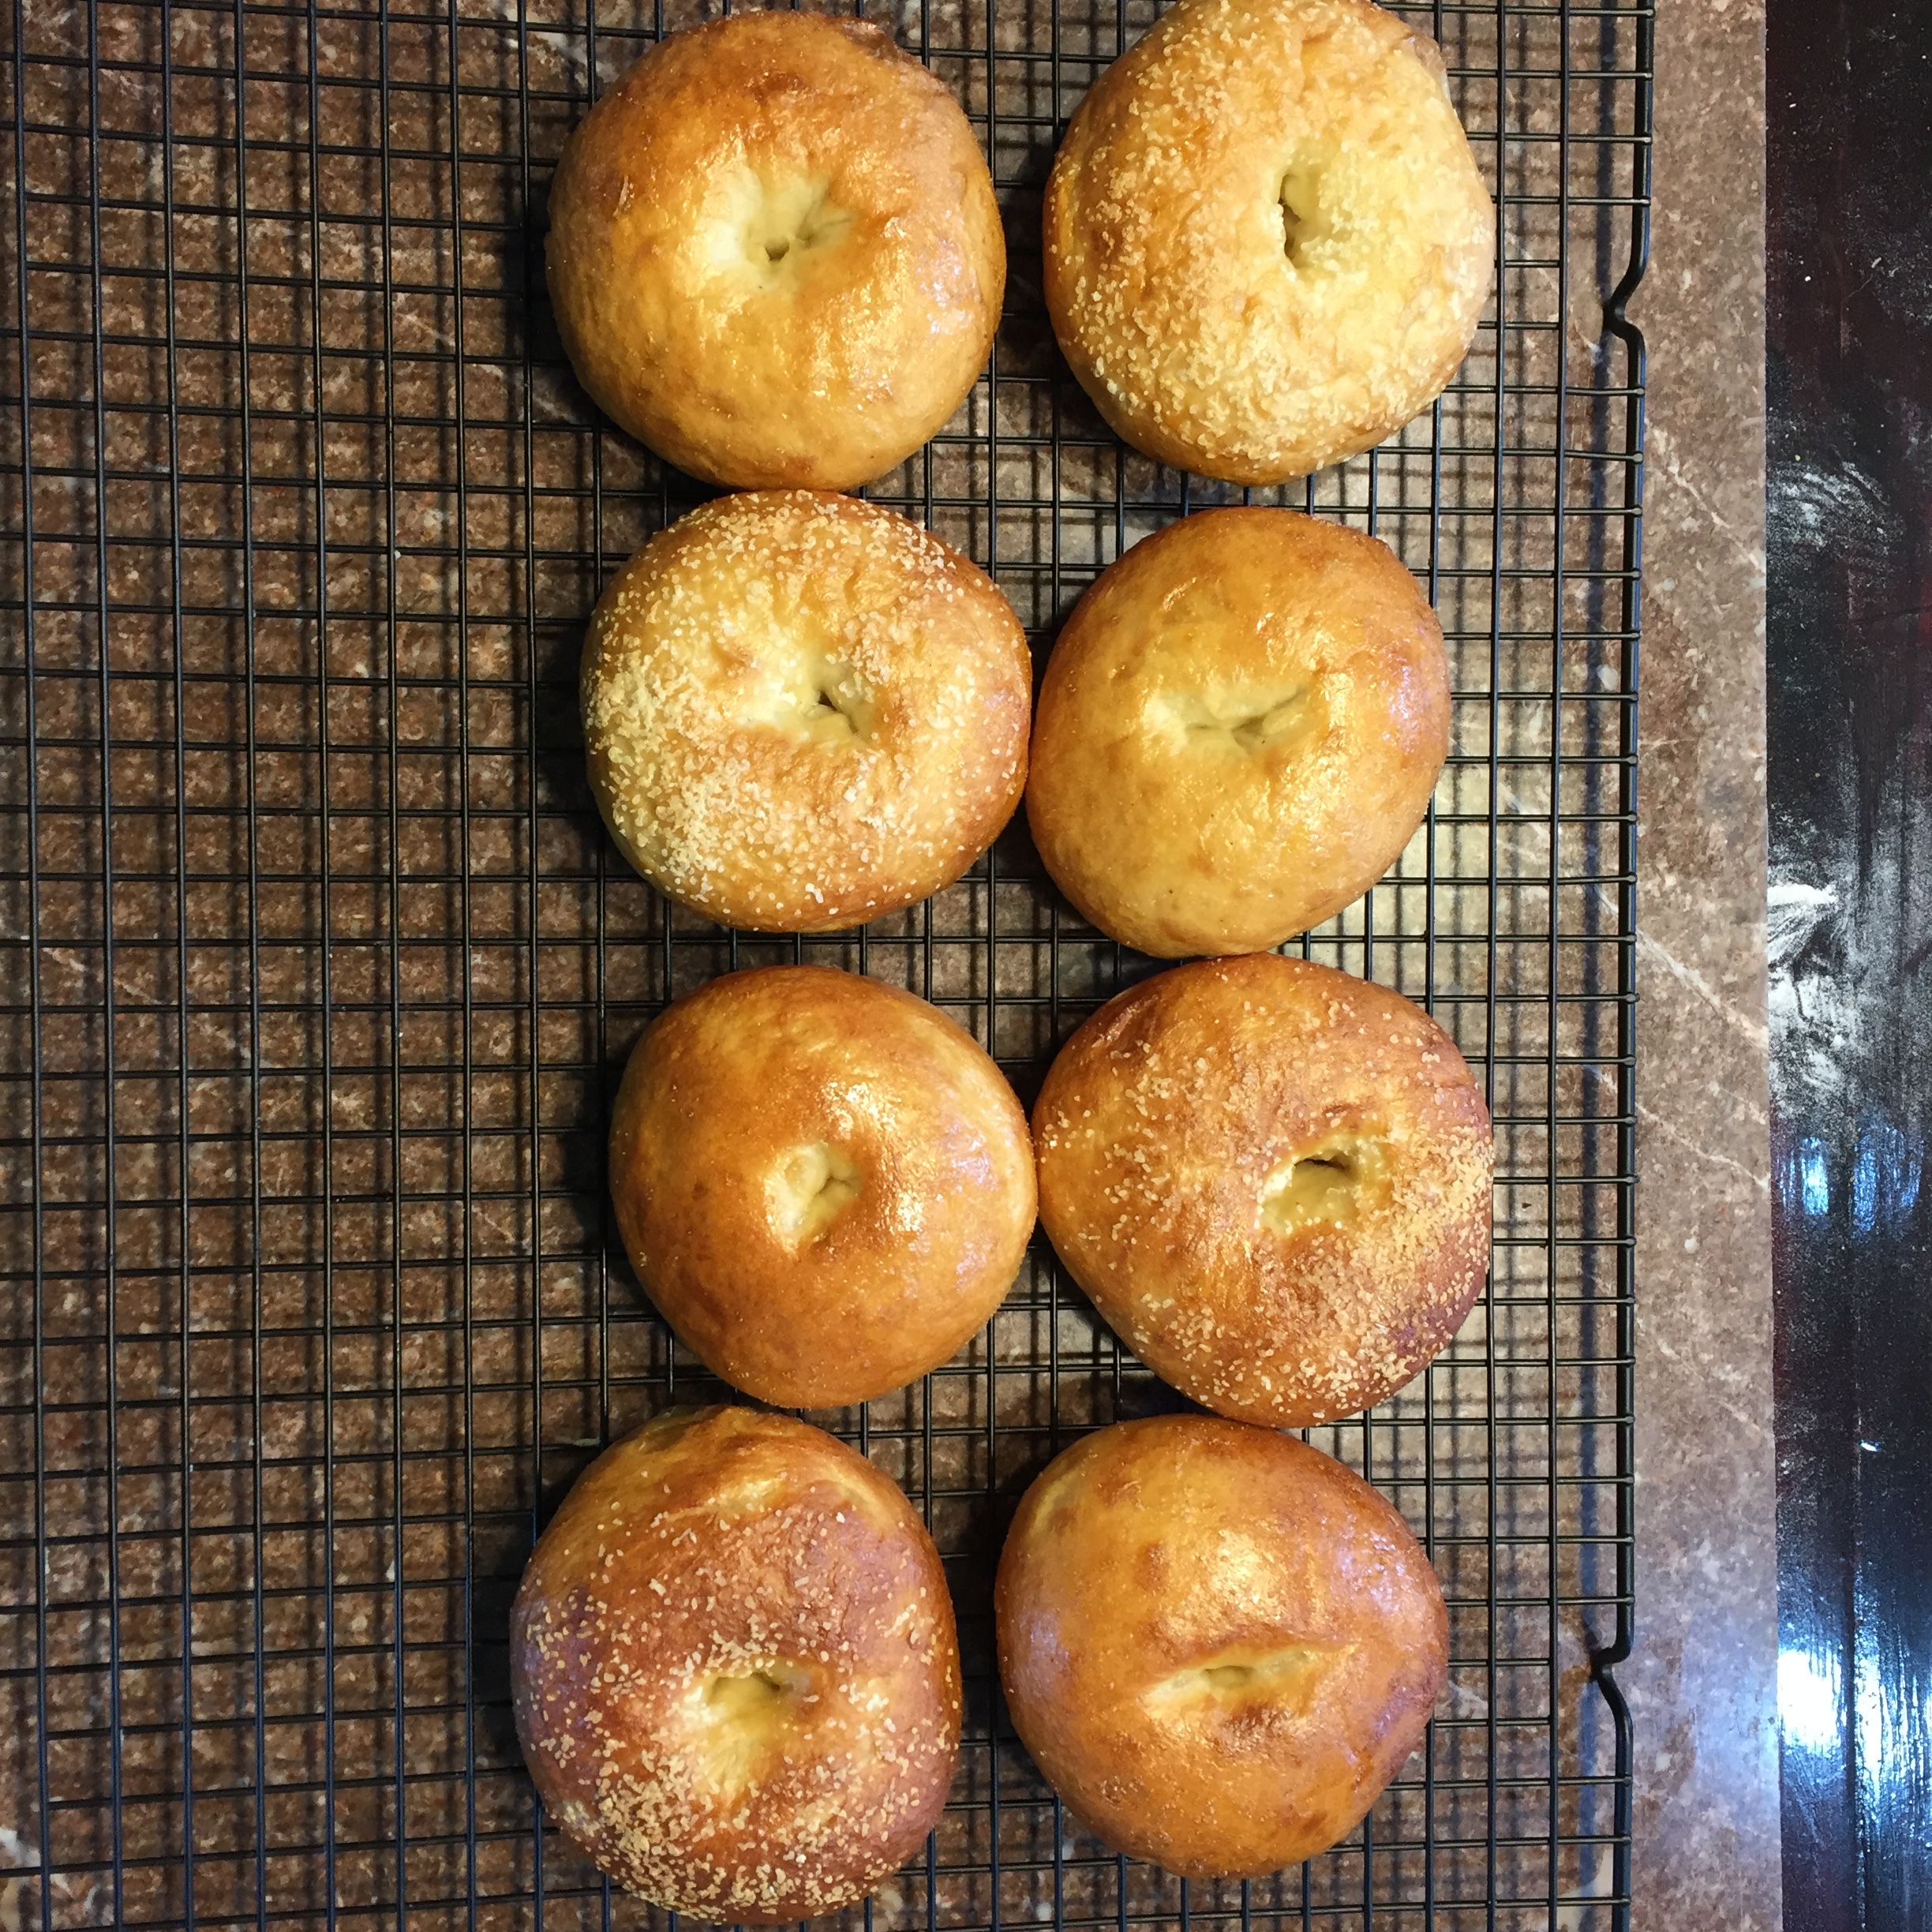
Remove baking sheet and place bagels onto a cooling rack for a minimum of 20 minutes before tearing into one!

And like that, you’re like that character in the movies with your fresh NYC bagel!

Once cooled completely, you can store in a paper bag for up to 2 days.  ENJOY! 

IMG_5544.JPG

Comment

Classic Sourdough English Muffins

7 Comments

Classic Sourdough English Muffins

Classic Sourdough English Muffins

You’ve likely said, “I’d like an egg McMuffin.” OR have been walking into the store and have seen in bold “Nooks and Crannies!” Both of these require a classic English Muffin. Many recipes use Active Yeast and are a little quicker than the one that we’ve developed, but the flavor in ours is WORTH the wait, WE promise! Here’s how to make our Classic Sourdough English Muffins.

Ingredients:

Wet:

1 C of fed/proofed Sourdough Starter

1 C whole milk (fat content doesn’t matter)

1 C Buttermilk, shaken before poured (fat content doesn’t matter)

2 T honey

*4 T ghee or melted butter (for either, liquid form and cooled)

DRY:

Up to 6 C All-Purpose flour (we tested Bread Flour and the results made NO different in texture and taste for this recipe)

2 t kosher salt

1 t baking soda

¼ C corn meal or semolina flour


Other Stuff you’ll need:

11-13 Quart Bowl

Wooden Spoon (I use a “Spirtle”)

3-4 inch rim glass or cookie cutter that size

rolling pin

2 cookie sheet

2 clean kitchen towels

hot plate OR Iron Skillet

Cover to fit skillet

Canola oil

Meat thermometer (something with a probe; a candy thermometer won’t work here)

Wire rack for cooling

 Instructions:

Night before:

Turn on the oven to warm 100degF when you start to assemble.

In a LARGE bowl (11-13 quart), put in all of the honey, ghee and starter and a about ½ C of the whole milk. Stir enough to break up the starter so that the mixture is fluid. Add the rest of the milk and buttermilk.

Incorporate 4 C of the flour by sprinkling 2 Cups over the mixture and stiring; then repeat (your arm will get a work out by the end) You just want for all of the flour to be wet and combined. The mixture will look a bit shaggy and have some stickiness to it. . .

Turn the oven OFF and leave the light on. Cover your bowl with a plastic wrap, leaving a little hole for air and a towel. Making sure that the oven is no warmer than 100 deg (I have a “hot” oven), place your covered dough in the oven. You’re done for 11-16 hours. . . 

Next Morning:

Sprinkle cornmeal onto two cookie sheets. Remove the dough bowl and repeat the oven 100degF warming method (you’re basically making a “proofing” space).

Dough will have developed and proofed about double in size. Deflate the mass in the bowl and sprinkle the salt and baking soda over top. With your wooden spoon, start to fold the dough over on itself and sprinkle about ½ cup of flour over top and mix until incorporated just to make it not as tacky.

Just out of "dough bowl"

Just out of "dough bowl"

after the kneading process

after the kneading process

Dust a surface with a GENEROUS amount of flour (nearly a cup) and pour the dough out on the floured board. This is where you get the “workout!” Knead the dough for about 5 minutes by “fold, push, rotate method,” incorporating flour until you get a smooth ball. You’ll need to add a total of about 1 ½ cups of flour to the mass (more or less depending on feel and accuracy in the measuring of the wet ingredients the night before). I like to make sure that the dough doesn’t “rip” when my palm pushes into it. It should come together in about 5 minutes. Turn oven off, but leave the light on.

Once you have a smooth elastic ball of dough, take your rolling pin and roll the dough out until it’s about ½ inch thick. This seems a weird step for dough, I know. . . Take your glass or cookie cutter and cut out your shapes as closely together as possible. Place the rounds of dough onto your prepared baking sheets about 2 inches apart. WHAT DO WE DO WITH THE SCRAPS?!?!? The dough is still tacky enough that you can “re-knead” and roll the scraps and get more muffins. Waste not, want not! I usually get about 26-30 rounds using my 3 inch cutter.

 Sprinkle a bit more corn meal on top of each round and cover the pan with a clean towel and stick these in the oven (heat turned off, light on) to rest/rise for about an hour.

Here’s a variation that you may want/have to take. . . If you don’t have a skillet and cover (griddle instead), take the muffins out of the oven after 30 minutes of this proof and turn your oven to 350DegF to preheat. You’ll see why in a sec. . .

ENGLISH MUFFINS AREN’T BAKED IN THE OVEN, per se . . .

Get your skillet hot on medium low heat (if you have a griddle with a temp setting, about 350degF), and coat the pan with about 1T of canola oil. We tried several different kinds of oil, but I always got “smoke” at this temp with olive oil or butter. . . Uncovering only a few of your rounds, gingerly lift and then place into your hot pan being careful not to let them touch as the sides will remain tacky until cooked. Cover. Cook for 4-5 minutes and then turn over gingerly and repeat with covering and cooking for 4-5 more minutes. THE REASON for the covering is to keep the steam in! Probe the largest dough round on an outside of the pan and see if it has reached between 190-200degF. If so, you’re DONE!

 If you don’t have this opportunity for covering (or both sides are brown, but you don’t have the appropriate temp), place your muffins on a baking sheet and stick them in the preheated oven for about 7-10 minutes; this should achieve heating to the desired inside temperature.

Once your muffins are to the right temp and perfectly brown, remove and let cool completely on a wire rack.

IMPORTANT! Do not take a knife to cut the English muffins. The proper way to “cut” is taking a fork and probing the side in and out, all the way around.

IMG_5456.JPG

These will store in an airtight container for about 4 days! You could also freeze them. There are a LOT, so if you’re not feeding an army, it may be overwhelming to eat them all; although, they are so good that you want to!


7 Comments

Bread Pudding!!

Comment

Bread Pudding!!

BREAD Pudding!
“Bread Pudding” has always sounded a little yucky to me. . . not gonna lie; however, I found myself with some left over Challah or Piquenchagne bread that needed to be used or just thrown out. They say, “Necessity is the mother of invention.” This puts “waste not and want not” to the test! Here’s a delicious Bread Pudding recipe for ya!

Ingredients:
Bread layer:
8-10 cups ofbread in 1 in. cubes (I would recommend a sweeter/egg bread like challah, but you can use any dense bread that you like. I would steer clear of just white bread. . . )
*1 apple peeled, cored and chopped (I like a more tart apple, so granny smith it is)
*1 Cup of a dried berry/grape (I like cranberries)

Custard:
4 Grade A Large Eggs, room temp (I’ve used 5 small eggs before)
1 Cup granulated Sugar
*¼ Cup Brown Sugar
1 ½ t pure vanilla extract
½ t ground cinnamon
*¼ t nutmeg
*1/8 t allspice
4 T butter melted and then cooled (I use salted butter in everything. . . )
2 C heavy whipping cream, room temp
2C milk, room temp

*optional items

IMG_4986.JPG

Other stuff:
Large Roasting pan for water bath
9X13X2 in. pan for bread pudding
Electric/Stand mixer with beaters/paddle attachment
Extra butter or non-stick spray for pan

Instructions:
Bring all of your room temperature items up to room temperature.
Prepare your bread into 1 in. cubes, as well if including the fruit, prepare those items.
Spray your 9X13X2 pan with non-stick spray and place bread in an even layer, topping with an even layer of fruits.

Put your room temperature eggs into the mixer bowl of a stand mixer, fitted with the paddle attachment.  Turn on and break up eggs a bit, pour in sugars and beat until fluffy; this will take 4-5 minutes depending on room temp of the eggs (I got this tip from http://www.joyofbaking.com/BreadPudding.html ). Once “frothy” and leaving a ribbon, put in your vanilla and spices mixing again. (if you want to, you can put the butter in at this time, but I pour mine over top after in the dish with the bread). Mix in the heavy cream/milk mixture until thoroughly combined.

Now You’re ready to combine the custard and bread layers. Pour the custard over top of the bread in the pan.  Make sure all of the bread gets coated with the custard by pushing down with a spatula or your hand. Let stand for 30 minutes to allow the bread to soak up all of the custard that it can.

Meanwhile, preheat your oven to 300degF.  
Place your bread pudding filled pan inside of the roasting dish and boil some water (or use HOT tap water); fill up the roasting pan until there is about ½-1 in. of water up the side of the bread pudding pan. Carefully transport the roasting pan to the oven and bake for 1 hour.

I have to check my oven to make sure the temp remains at 300degF. The water bath tends to diminish the temperature by about 20 degrees. . . So, after 30 minutes, I increase my temp to 320degF.

Once the pudding has baked for an hour, test by pushing down on the bread, if custard is not cooked, it will rise up through the top bread layer.  If the pudding isn’t done after an hour, I would recommend 10 minute increments of baking/checking. Once no more custard comes through the bread, you’re golden.

Remove from the oven and then remove from water bath to let cool completely. Once cooled, cover with aluminum foil and store in the refrigerator for up to 4-5 days (if it lasts that long☺).

Comment

CHALLAH! (that will make you Holla!)

1 Comment

CHALLAH! (that will make you Holla!)

Hello Everbody! It's will! We're trying a new title: Will Bake 4 Food! I'll make a bread or dessert and you make the main course!! :D
Let us know what you think! Here's my tutorial of Lauren Groveman's Challah Recipe! For her Explanation: http://www.laurengroveman.com/recipes/breads/six-strand-challah/

Here's what you knead (HA!)
Ingredients:
8 oz (1 stick) of butter (salted is what I use)
1 cup of milk

1/3 cup of sugar
2 T of Honey
2 1/2 t salt
(she calls for raisins, but I didn't use any)
2 pkgs active dry yeast (4 1/2 t)
1/2 cup lukewarm tap water
Pinch of sugar
5 medium OR 4 extra-large eggs
Up to 6 cups of Bread Flour
Course Kosher Salt for sprinkling
Cornmeal for pans
Egg and 1 T of water for egg wash

Other stuff that you'll need:
2 LARGE bowls (one for the proofs and one for mixing)
Canola oil spray
Mixing spoon (I use a spurtle)
Pastry scraper for the kneading and measuring
Kitchen Scale (if you can eyeball it, this are optional. . . )
Heavy bottomed sauce pot

Instructions:
Pull out your eggs so that they can come to room temp.
(TRICK! if you don't have the 20 minutes for this, in a bowl, put some hot tap water and put your eggs in it. They'll be room temp in about 5 minutes. I do this ALL of the time).

In the sauce pot, put your butter and milk over medium heat until there is just wisps of steam coming from the milk and the butter is completely melted. Take it off the heat and let cool.

Measure out your lukewarm tap water and put the yeast and pinch of sugar in. Mix it ever so slightly to help get all the yeast wet.
Prep your "proofing" bowl now. Spray with Canola oil and measure out your plastic cling wrap too, spraying it as well. Set aside.

Now it's time to get your ingredients combined!!

Put Sugar, Honey and salt into a large bowl whisking slightly, this will be sticky. Then add the eggs whisking each one as you add it in. You'll have a smooth egg mixture once you're finished.
Add in your butter and milk mixture slowly, while whisking the eggs as to not "cook" them. Your mixture should have cooled down by now and your yeast should be "bloomed". So, pour it in and whisk it all together!
Now for the Flour addition! Sprinkle 2 cups of the flour over top of your liquid mixture and start to mix with a wooden spoon.
Keep adding the flour one cup at a time until you have a "shaggy" mass that starts to move together.
Lightly flour a surface and pour your dough out to start the kneading process. "One clean hand, one dirty hand". Use a pastry scraper to help keep your dough from sticking to the surface. Keep adding flour until you have a nice dough that doesn't stick to your hands. I should be like a big blob that will still move around but isn't too stiff.
Make it into a bit of a smooth ball and place it into your greased bowl and cover with plastic wrap. Place in the oven with only the light on (or a warm place) for 1 hr 45-2 hours.  After first proof, Punch down the dough and knead in the bowl to redistribute the yeast, recover and stick back in the oven for another 1 hour to 1 hr-15 minutes until billowy.
Once second rise has happened, punch down the dough again and pour out onto a clean surface. divide as evenly as possible. You want about 10 even balls of about 5-6 oz a piece. I like to divide into 2 and cover one half while I work with the first half.

Once you have your balls created, it's best to let them rest a bit, about 15-20 minutes covered with a clean kitchen towel.
Here's the time to start preheating your oven to 375degF and prep your baking sheets with parchment paper/silpat and sprinkling cornmeal to prevent from sticking.

To make a five braid loaf: roll your balls of dough by folding them inward then elongate until you have a long strand, c. 12 in. long with ends tapered. put 5 of the strands together at one end so it looks like an 5 tentacle octopus. From the outside, bring one strand over and then under ending in the middle. Go to the other outside strand and repeat. Once you reach the very tip, mesh all of the strands together and tuck underneath. (the video has a MUCH better explanation of this process. . . ) Place the braid on one of the prepared sheets and cover for about 15 minutes to let it rest. Uncover and then brush with egg glaze (if you're using a seed topping or sea salt, now's the time to put it on the egg wash) and leave exposed for about 5 minutes. Place in the oven on the middle wrack for about 25-35 minutes. The dough will expand when baking and if desired, take out about 20 minutes in and brush the newly exposed white with more egg wash.  

To make dinner rolls: roll your balls of dough by folding them inward then elongate until you have a long strand, c. 12 in. long. At this point, cut it in 1/2 and then continue to elongate one side until it's about 10 in. long and very thin. Take the strand and tie a knot, then tuck the top side of the strand underneath and the bottom side on top. . . (again, the video has a MUCH better demonstration of this). Place the rolls on one of the prepared sheets and cover for about 15 minutes to let rest. Uncover and then brush with egg glaze (if you're using a seed topping or sea salt, now's the time to put it on the eggwash) and leave exposed for about 5 minutes. Place in the oven on the middle wrack for about 15-25 minutes.

The Challah is finished when you can tap on it and it sounds hollow and it's a lovely golden color; For the braid, I like to tap the more white sections to test it; if they don't sound hollow, it needs to cook a little more. . .

Serve warm! This makes a DELICIOUS french toast after a couple days too! SO GOOD!

1 Comment

Piquenchagne (French Pear Bread)!

1 Comment

Piquenchagne (French Pear Bread)!

Hello Everybody! I've searched the internet for this recipe after a suggestion from one of my mentors, Kelly Hale!! Here is Bernard Clayton Jr's "Piquenchagne" from The Breads of France  (with some #bakingactor touches, of course). 

Ingredients: 
Pear mixture: 
2 medium pears (mine were small, so I used 3 and different kinds)
1/2 C water
3/4 t cardamom*
1/2 t cinnamon*
1/2-1 t ground pepper

Dough: 
1 package Active Dry Yeast (2 1/4 t.)
1/2 C milk or water, warmed to 110degF
2 T canola oil*
2 1/2 T honey
2 t salt
2 eggs, room temp
1/4 t. pepper*
4-5 cups of AP flour

Glaze: 
1 Egg (could use only the yolk. . . ), room temp
1 T milk, room temp

Other equipment: 
Potato masher
Spurtle*/wooden spoon
Sauce pan
at least 3 bowls (one for mashing, one for mixing and one for proofing)
Dough Scraper: I have THIS ONE
Razor blade

*(optional)

Instructions: 
Prepare your pears! :) Peel, core and dice your pears. Place in a pot with 1/2 cup water and add spices. Let cook for about 10-12 minutes until all of the water is gone on medium heat, stirring occasionally. (this is the time that you can heat your milk in a double boiler). When the pears are done, it will be easy to swirl the pot and have the pears not stick but seemingly all of the water has cooked out. 
Remove from the heat and mash until pretty smooth with a fork, food processor, or potato masher. Set aside to let mixture cool. 

While Pears of cooking, get your other stuff ready! I like to line my sheets with silpat or parchment paper and get my "proofing" bowl greased. 

Put yeast in warmed milk or water and set aside. 
In a large bowl, put your oil, honey, salt and eggs together, whisking until you have a smooth liquid. This is the part that you can do 1 of 2 ways, but basically achieving the same outcome. 
You can combine the pear mixture a little at a time into the egg mixture making sure to whisk as you go as not to cook the eggs THEN add the yeast mixture, OR add yeast mixture to eggs first and then the same small amount at a time of the pear mixture into the bowl. Either way, you get all of the WET ingredients combined. Just temper everything as to not kill the yeast OR scramble the eggs :)


NOW, we make the dough!! 
Put 2 cups of flour on top of the liquid mixture and beat in with wooden spoon or Spurtle until all incorporated. Add a 3rd cup and mix until you start to get a "stringy/shaggy" mess. Once the dough starts to pull away from the sides of the bowl, it's TIME! 

The next 4-7 minutes will feel like you're not doing it right, but remember once you activated the yeast, this is alive; it needs some TLC to become a beautiful dough! 

YOU will NEED a DOUGH SCRAPER! Turn it out and finish adding up to 5 C of  flour until you have a "pillowy" dough that isn't sticking to your hands any more. You should also be able to pull between your thumbs and it will stretch. If it "breaks", you need to knead some more. . . 

Place completed dough into greased bowl, cover with a towel or plastic wrap and place in the oven with the light on. It just needs to be in a draft free place that's about 70-75 degrees .

After 1 hour, punch/deflate the dough and form it into a disk. the formal recipe is to cut into 2, but these are HUGE pieces. We cut into 6 or 8 here in our house. I like to cut the disk into 3 or 4 and then cut those in half. 

Form the smallest pieces that you come up with in a ball and let them rest for a couple of minutes. Then, flatten the balls a little and then poke your finger through the middle creating a "Couronne." It should look like a big bagel! Place on your parchment paper lined pans, cover with a towel and let them sit proof for 45-60 minutes. These will still be a little "sticky" but not crazy WET. . . 

After 15-30 minutes into this final proof, turn on the oven to 350degF and let it start to preheat. As well, beat your Glaze together so that it becomes room temp and easier to baste onto the loaves. 

Remove towels and baste the glaze (for a more "golden" look, use only the egg yolk) onto the Shapes. Take a SHARP knife or razor blade and cut the around so it looks as if there are a "crown" in the middle of the circle. . . 

Depending on size, the baking could take from 20-40 minutes. The bigger the "Couronne", the longer it will take. "How do I know, will?" When they are golden, AND when tapped sound hollow, it's DONE! 

and VOILA! You have Piquenchagne!  

Pull it out and let it cool on a wrack and cut and serve! If these sound like a LOT to consume in a week or so, you could freeze 1/2 of it. Just allow to thaw out over night in the fridge, and they're good for use! Or give it to a neighbor, I've given it away to friends at work and they LOVE it. 

This is our variation with about 4 oz. dough balls! 

This is our variation with about 4 oz. dough balls! 

1 Comment