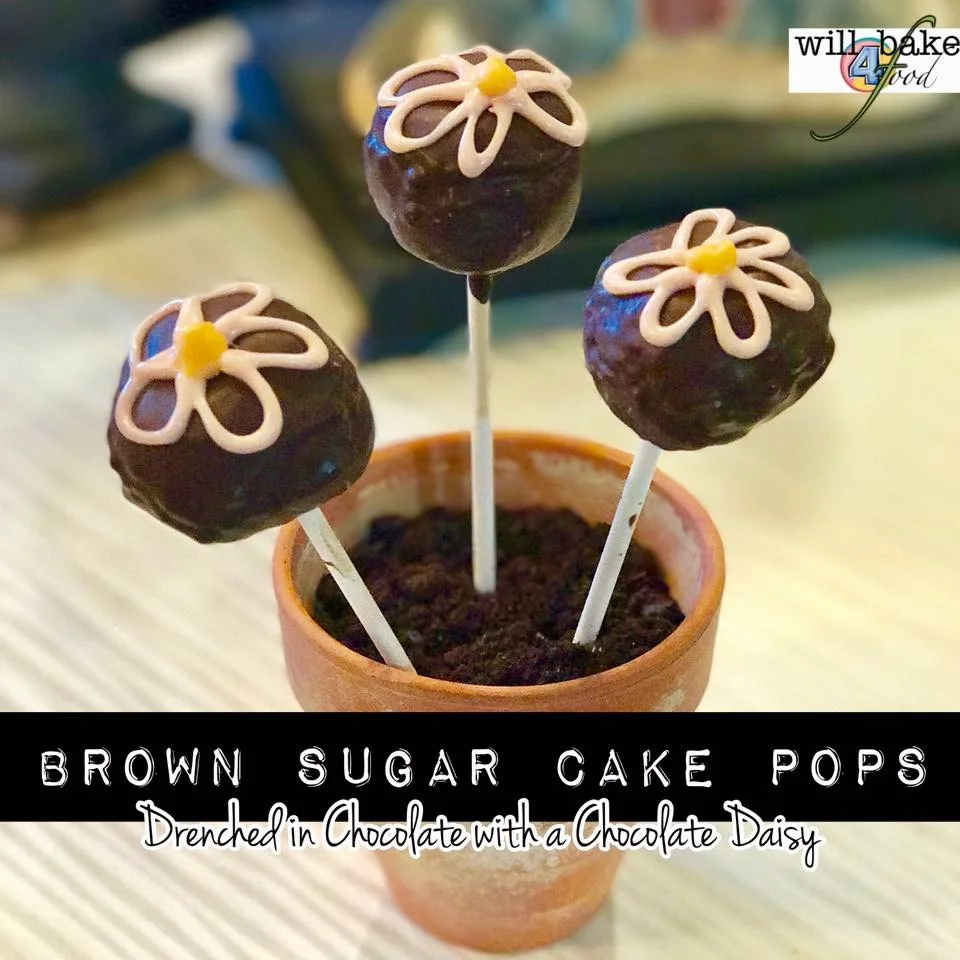
Have you ever been walking through a coffee shop and see “Cake Pops” in the display case? Follow this recipe, and I’ll show you how to make these DELICIOUS cake pops at home! These are a super great treat for a birthday party for kids! They aren’t very big and don’t require a LOT of cleanup either. . .

Ingredients:
1 9-inch vanilla cake layer ( I use Martha Stewart’s Vanilla cake)
c. 1 ½ C of my Brown Sugar Buttercream (1 stick butter's worth)
6- 8 oz. semi-sweet candy coating chocolate, melted
½-1 t. vegetable shortening
Other Stuff:
Popsicle sticks (I use 6 in.)
Heated pot for melting candy, I have This one
Large bowl
1 T kitchenspoon
Ungreased cookie sheet
Silpat or parchment
Oasis Foam
Tape
Wrapping Paper
Instructions:
Line an ungreased baking sheet with parchment/silpat.
The order of operations is malleable for sure, BUT if you’re baking the cake the day of this project, be sure that it has time to cool completely before using. You will have to have part of the chocolate melted to help put the pops together, so I start with chopping and melting about ½ of my chocolate. Meanwhile, you can make the Brown Sugar Buttercream (only about 10 minutes) and break up the cake. Once the cake is broken in to crumbs, you can start to incorporate the buttercream a little at a time. It’s important not to add it all at once, as you may not need it ALL depending on your cake.
Once your cake is incorporated and you have a dough that holds together with what appears as “layers” when some is broken off, you’re ready to form the cake balls. I use a large kitchen spoon (c. 1-1 1/2 T) to break off a bit of the dough; then between cupped palms of my hands, I roll each ball out into as smooth a ball as possible. Take one of the popsicle sticks, dip in the melted chocolate, and put into the bake ball. Place this stick side up on your parchment lined baking sheet. I can get 7 rows of 5 on my sheet. Place your pan into the fridge for about 30 minutes to chill.

While you’re chilling the dough balls, you can work on chopping the rest of the chocolate and thinning it with shortening; you want it to be runny as to help form a smooth layer on the cake balls. Also, you can now prepare your oasis by taping 3 standard blocks together and then wrapping like a present. I had to pre “puncture” my holes just because of the tape. . .
Once your dough is chilled, you can begin dipping the pops! Tip the reservoir and submerge a pop far enough for the melted chocolate to cover all of the dough (my benchmark is if it’s touching the chocolate just around the stick). THEN, pinch the stick with two fingers almost in the chocolate reservoir, with your other hand on the farthest end of the stick from the reservoir, spin back and forth as to get the excess chocolate off of the ball. Invert the stick with the ball up and stick it in your wrapped foam. Let these stand at room temp for about 5 minutes after the last one is finished and then refrigerate for about 30 minutes before a final storage of lying them flat in an airtight container.

IF you want to decorate with a different flavor/color of chocolate with swirls or flowers, they will need to chill again before that time. You will have some that crack. I found that the shortening does help with this response of the temperature change . . .
And in just a couple hours, you have delicious cake pops better than the coffee shop version! Enjoy!